InOlympic national park Winter Irtinirarytro
I wrote this Olympic National Park itinerary while traveling through the park in real time, staying in my RV and adjusting plans based on weather, road conditions, and how each day felt. This itinerary is especially suited for winter and shoulder-season travel, when crowds are lower and flexibility matters more than packing everything into each day. This trip wasn’t about checking off every viewpoint — it was about slowing down, choosing a few meaningful stops, and enjoying the variety that makes Olympic National Park so special. If you’re looking for a flexible, RV-friendly itinerary that doesn’t feel rushed, this guide is for you.
Content table
Why I built this guide
I live in the Pacific Northwest and spend a lot of time exploring the areas around Seattle, especially places that can be reached in a few hours or less. I’m drawn to trips that don’t require long drives or packed itineraries — just good scenery, time outdoors, and space to slow down.
The places on this page aren’t recommendations pulled from a list. They’re destinations I’ve personally visited, camped at, hiked through, or spent real time exploring. I built this guide to share the kinds of weekend getaways I actually return to — places that feel like a reset, not a checklist.
If you’re looking for realistic trips, honest experiences, and ideas that work for both quick escapes and slower weekends, you’re in the right place.

Quick Facts
Trip length: 3 days / 2 nights
Style: winter road trip + easy hikes + coast
Route type: point-to-point / not a loop (or explain if it is)
Main bases: Sequim/SR 7 Cedars → Forks area → Hoh area (or wherever you actually slept)
RV notes: hookups vs dry camp (you already mention this in days—summarize it once up top)
Critical winter checks: Hurricane Ridge status + NPS alerts (link to NPS alerts page)
Day 0: Seattle → Sequim (Overnight Stop)
I left Seattle on Thursday night and drove to 7 Cedars Casino near Sequim, which offers RV parking for around $20 per night. The lot has water and electricity hookups and works on a first-come, first-served basis.
Since I arrived late, I didn’t explore much—just parked, ate dinner, and rested for the next day.
📡 Starlink check:
I was able to work from the parking lot using Starlink with no issues. Video calls were stable, and the connection was strong enough for a full work session.

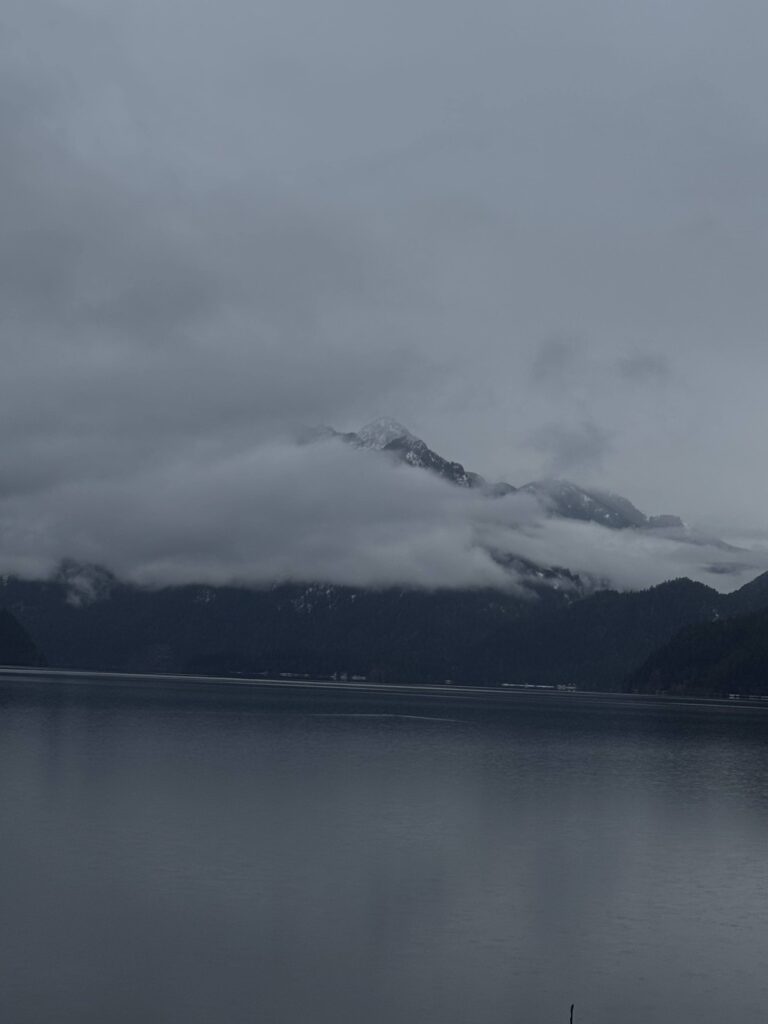
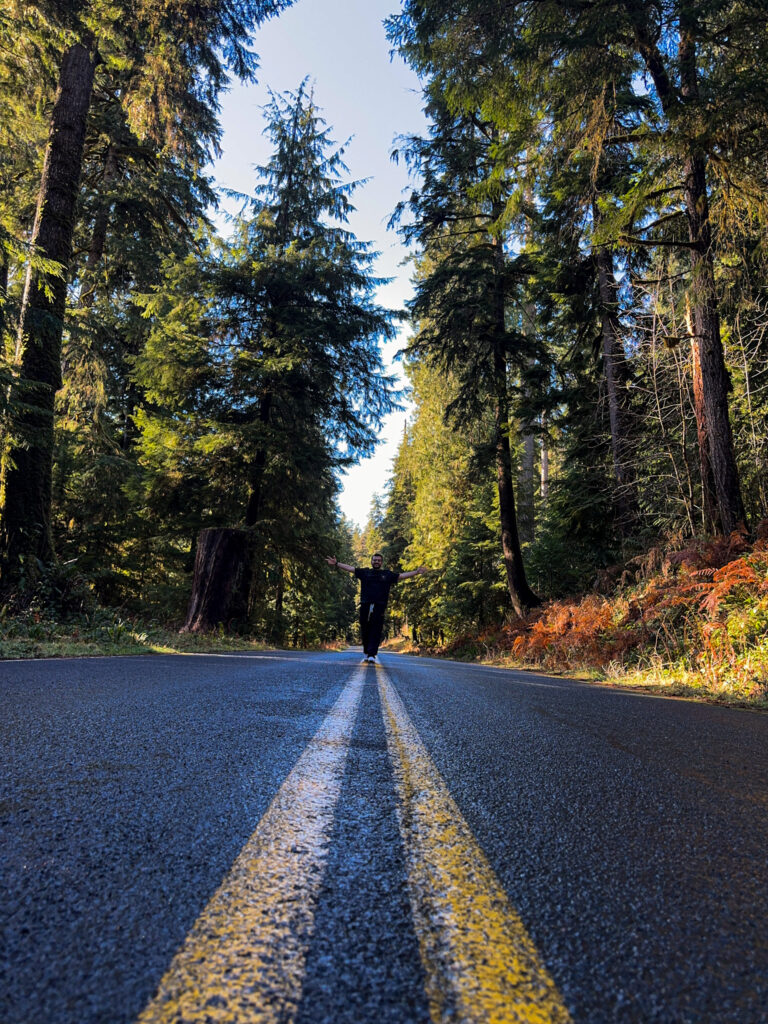
Day 1: Hurricane Ridge → Lake Crescent → Sol Duc Area
I started the day by heading to Hurricane Ridge. In winter and shoulder seasons, the road can close before the trailhead, and snow is common on the trails. Microspikes are highly recommended here, especially if you plan to walk any distance.
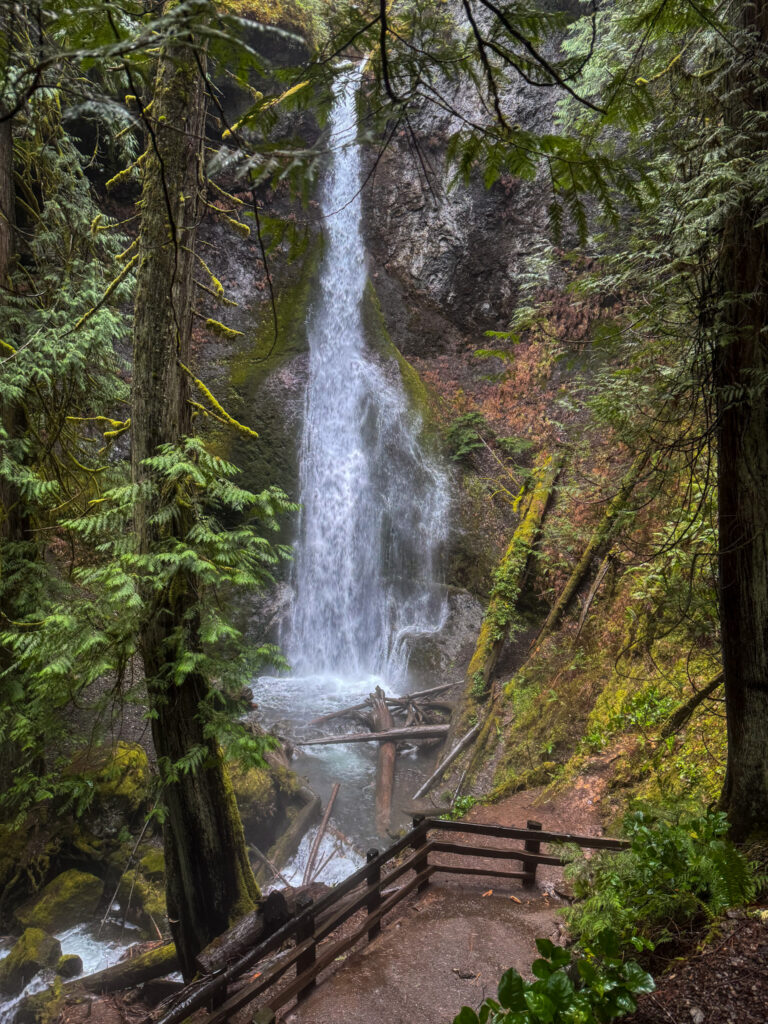
After Hurricane Ridge, I began driving west toward Forks and made a short stop at Madison Falls. This is a very quick waterfall walk—perfect as a stretch-your-legs stop rather than a full hike.
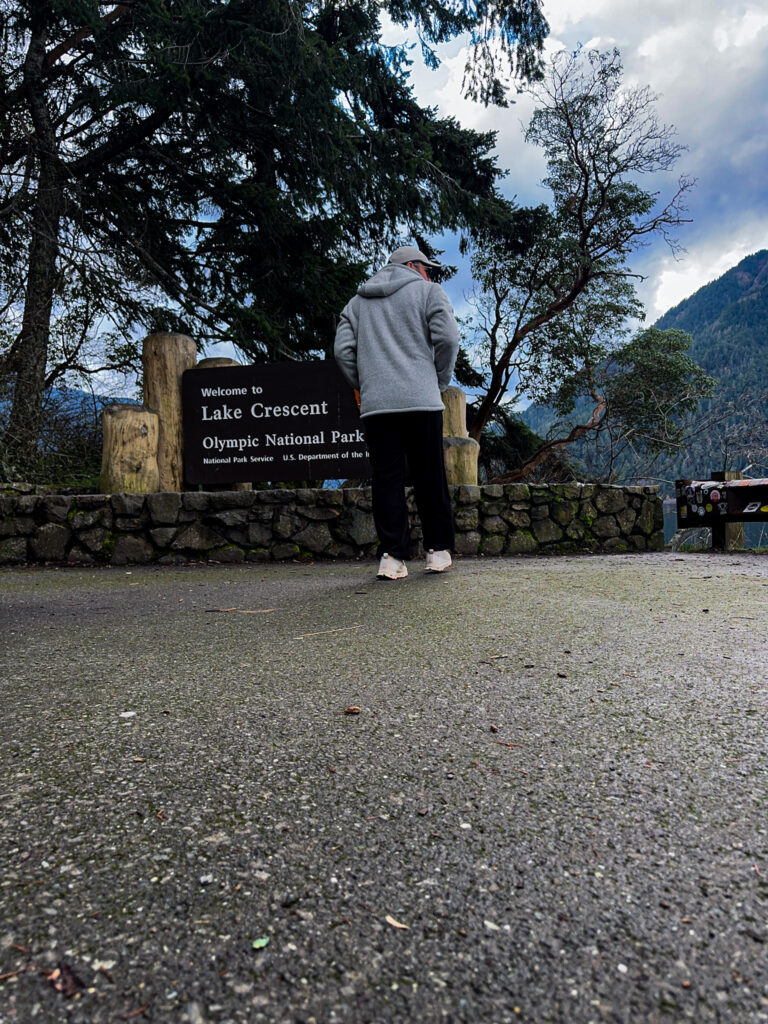
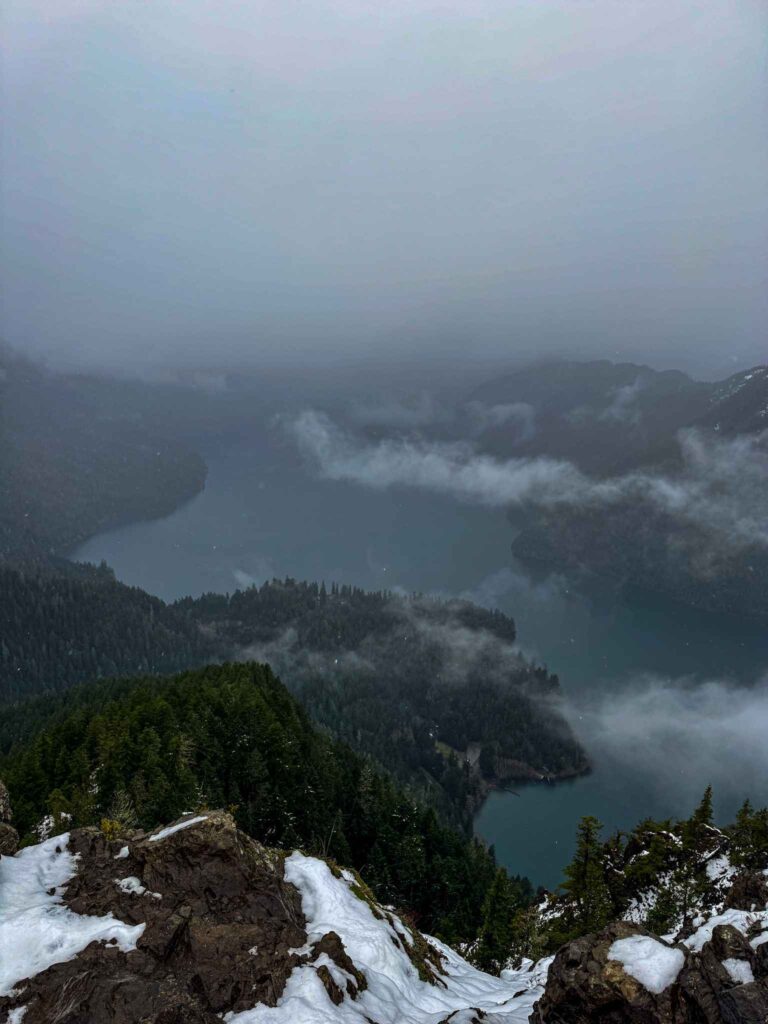
Next, I stopped at Lake Crescent. I didn’t do a long hike here this time since I had already walked at Hurricane Ridge and wanted to keep the day relaxed. Instead, I spent time walking along the lake and enjoying the scenery.
1) Marymere Falls
2) Spruce Railroad Trail
3)Storm King Trail
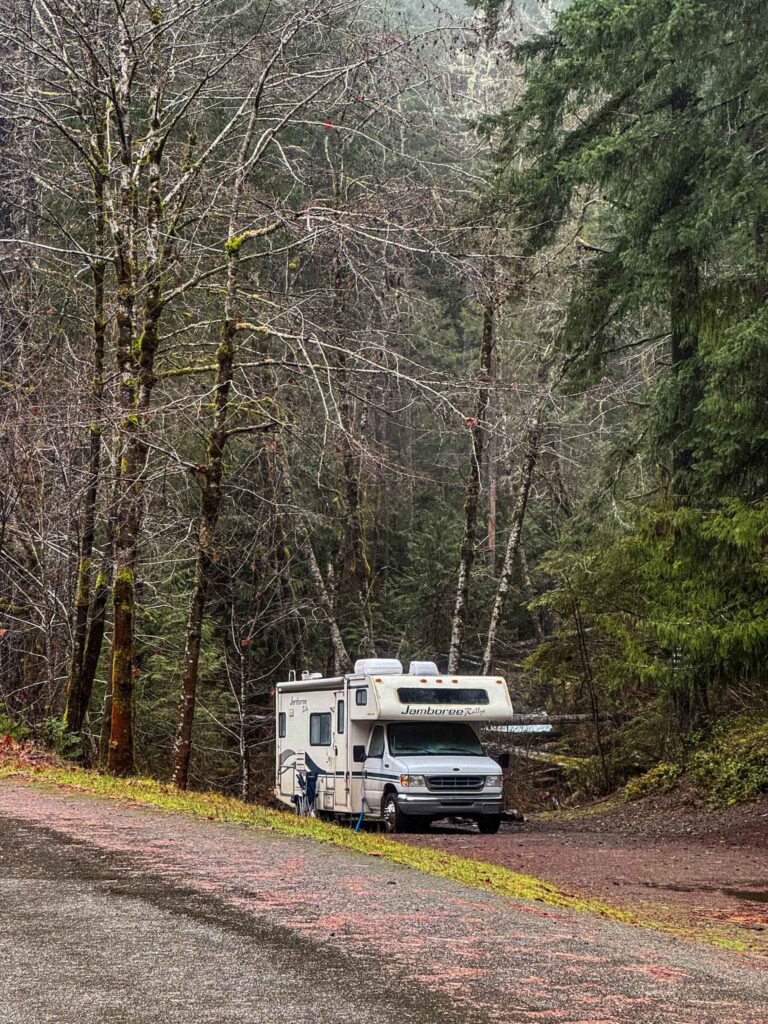
In the late afternoon, I drove about 20 minutes outside Forks to my campsite at Dawleys Sol Duc River Campground (booked via Hipcamp, ~$20/night).
This was a dry camp (no water or electricity), but the spot was quiet, forested, and not crowded. I arrived around 5 PM, which worked well since it gets dark early. I prefer arriving early, settling in, and not feeling rushed.
📡 Starlink check
I tested Starlink here as well. The connection was solid for watching videos and uploading content. I didn’t work much since it was Saturday, but the internet was reliable.
Day 2: Forks → Hoh Rainforest
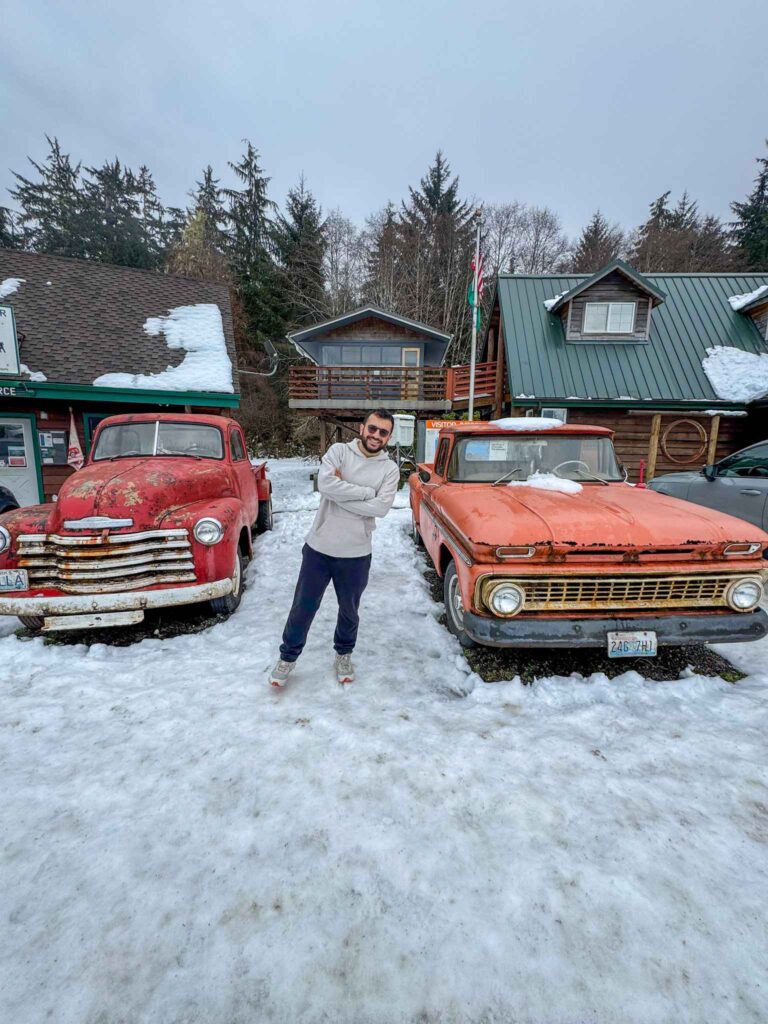
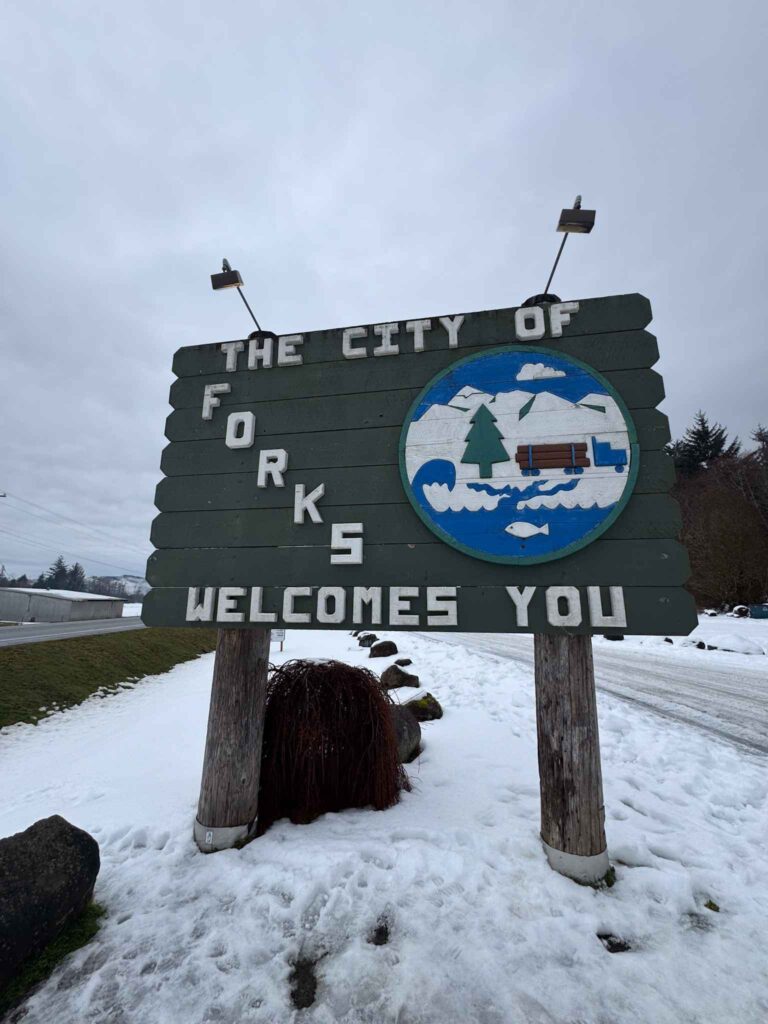
I spent the morning in Forks, stopping by a few local shops and the visitor center. Forks isn’t a long stop, but it’s worth walking around briefly—especially if you’re already passing throug
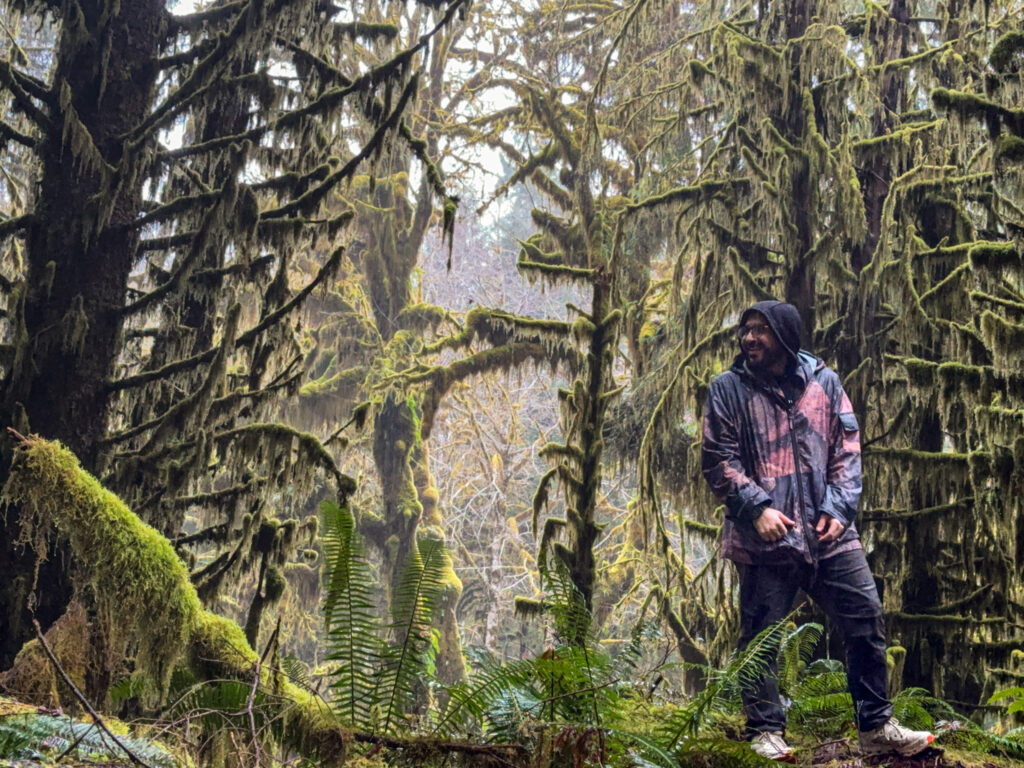
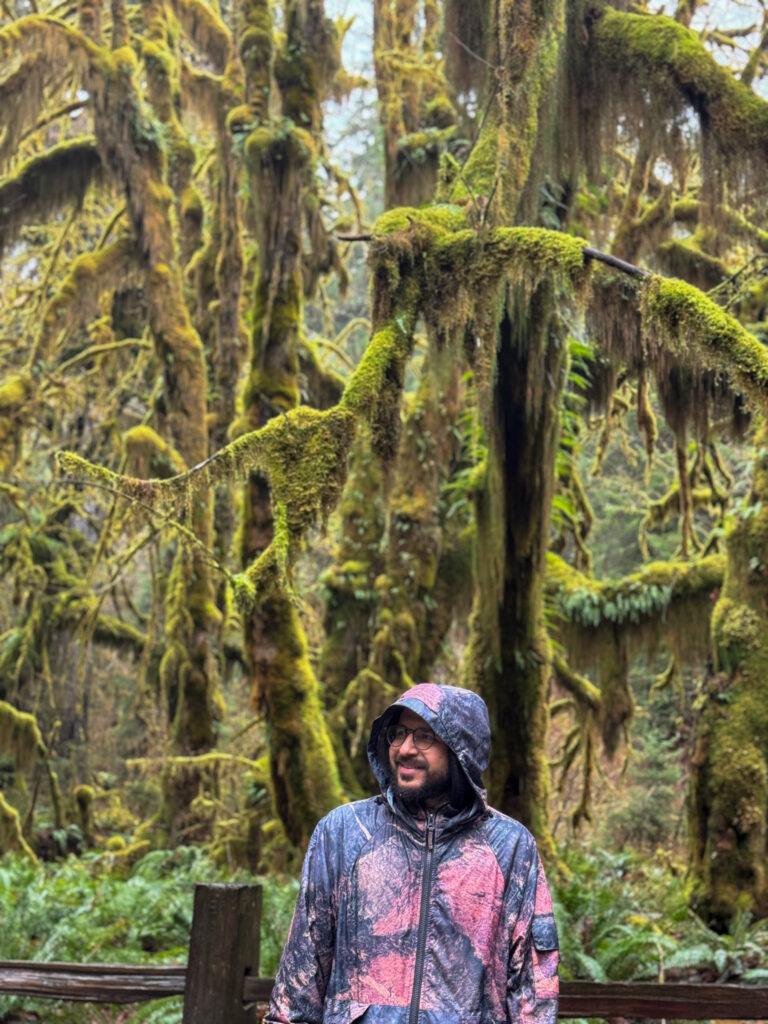
Around noon, I drove to Hoh Rainforest, one of the highlights of the trip.
I hiked two easy, flat trails:
Hall of Mosses Trail
1) Distance: ~0.8 miles
2) Elevation gain: Minimal
3) Difficulty: Easy
Spruce Nature Trail
1) Distance: ~1.3 miles
2) Elevation gain: Minimal
3) Difficulty: Easy
Both trails are beginner-friendly and perfect if you want to experience the rainforest without committing to a long hike.
That night, I camped near Hoh Rainforest again with dry camping. I was slightly cautious about wildlife, but overall it felt peaceful and safe. Sleeping surrounded by rainforest sounds was one of the best parts of the trip.
📡 Starlink check
Starlink worked, but the connection wasn’t as stable here. Streaming videos was fine, but live content and real-time calls occasionally dropped. Personally, I wouldn’t plan workdays here anyway—it’s better enjoyed offline.

Day 3: Lake Quinault → Ruby Beach → Seattle
On the final day, I drove south toward Lake Quinault and stopped at July Creek Picnic Area. The trail itself is very short (under a mile), but the drive and surrounding scenery made it worth a stop for photos.
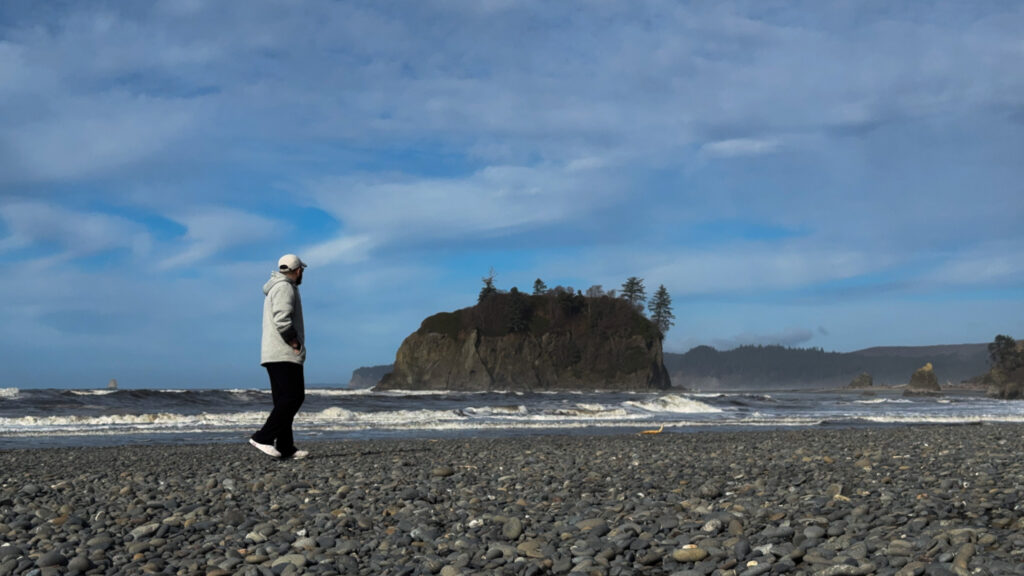
Next, I visited Ruby Beach. The walk is short, but the beach itself is beautiful and calm. The water is extremely cold, so swimming isn’t realistic, but it’s a great place to walk, take photos, and enjoy the coastline.
Crowds were light when I visited, which made the stop even better.
After Ruby Beach, I started the drive back to Seattle. The return trip took about 4-5 hours, and I skipped additional stops to avoid pushing the day too long. I personally don’t love Aberdeen as a stop—it works fine for food if needed, but otherwise, I usually keep driving.
What I’d Do Differently Next Time
First, I’d make time for Storm King Trail. It’s a challenging hike, but the view from the top is one of the best in the park, and it’s the kind of trail I personally enjoy when conditions are right.
Second, I would check road and trail conditions earlier, especially for places like the Ozette Triangle Coastal Trail. I learned that it was closed at the last minute, and while I likely wouldn’t have had enough time to do it on this trip anyway, knowing sooner would have helped me plan more intentionally.
👉 You can always check the latest closures and conditions on the official National Park Service site before heading out.
Lastly, I would add one extra day to the itinerary. The final day involved nearly five hours of driving back to Seattle, which felt exhausting after several active days. An extra night would have made the return trip much more relaxed.
Important Tips Before You Go
- Check current road and trail closures, especially in winter and shoulder seasons
- Bring microspikes if there’s any chance of snow or ice
- Expect limited cell service throughout the park
- Download Google Maps and offline maps before you leave
Olympic National Park in winter isn’t about doing everything — it’s about choosing the right stops, staying flexible, and letting the landscape set the pace.